Lethal Company is a brutal rogue-like that can feel overwhelming at first, but if you know how to use the tools at your disposal, you’ll fare much better going forward. Here’s how to use the Terminal, along with a breakdown of all secret and basic Terminal commands in Lethal Company.
How to Use the Terminal in Lethal Company
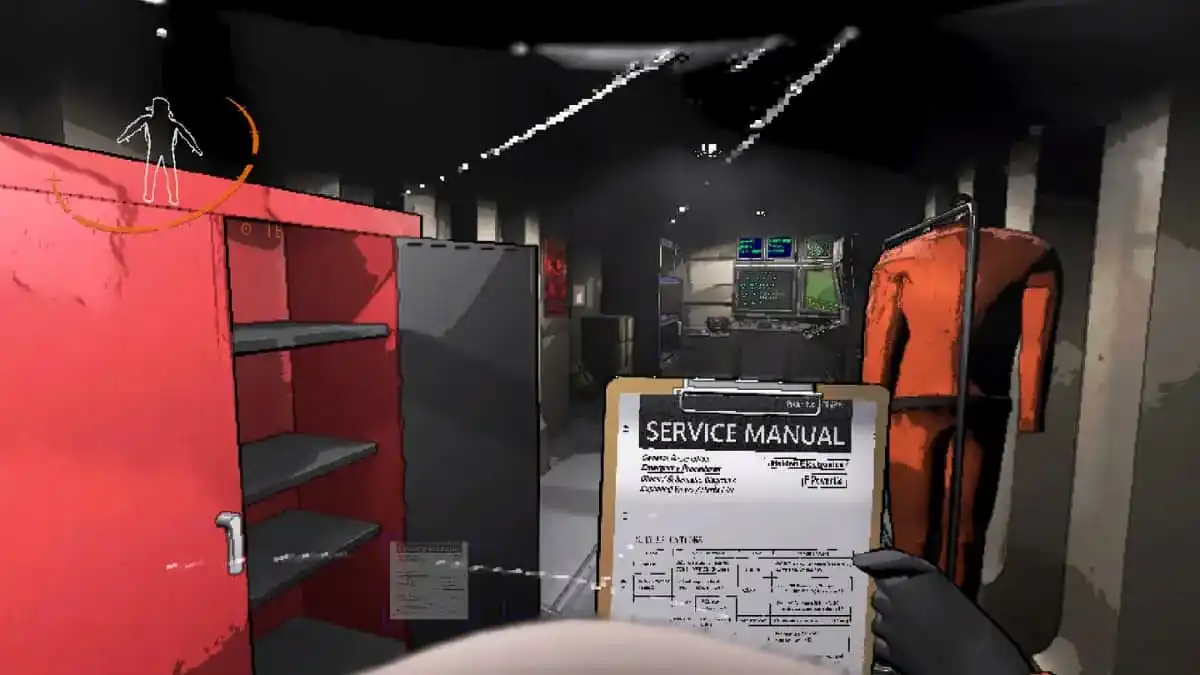
The Terminal is one of the most important items you’ll need to get acquainted with in Lethal Company. You can access it from your base while you’re in orbit or before you start exploring a moon, and you can interact with it by walking up to it and pressing the E key.
This is your main gateway to purchasing items, accessing your storage, traveling in between moons, and giving yourself a refresher on everything you’ve uncovered in the game so far. With that out of the way, here are all the commands you need to know.
All Terminal Commands in Lethal Company
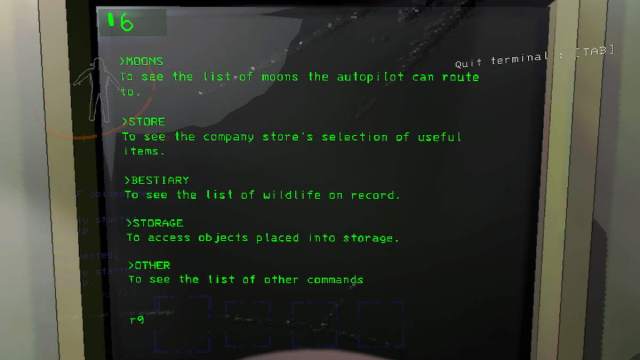
There are a total of nine basic commands you can input in the Terminal in Lethal Company. Most of these are quite self-explanatory, but some can be a little vague. We’ve listed them all below for your convenience:
- Moons
- Store
- Bestiary
- Storage
- View Monitor
- Switch
- Ping
- Scan
- Unlocking Secured Doors
Confirm and Deny
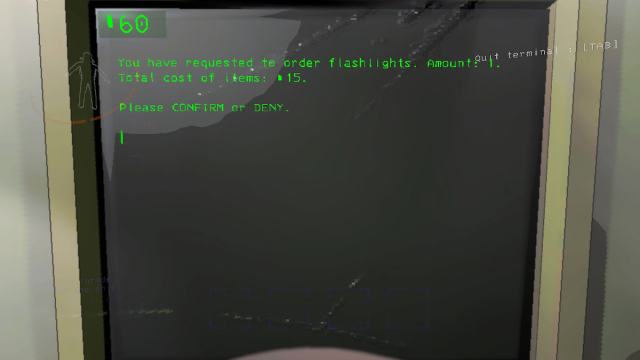
Almost any console input will require you to confirm or deny the command’s execution. You don’t have to write “Confirm” or “Deny” every time. Just type “c” and “d,” respectively, to navigate these menus efficiently.
Moons
The Moons command basically gives you a list of all the moons you can explore in Lethal Company. This is a pretty important command on the Terminal, as you’ll be getting tons of helpful info, like its weather conditions, which can help you determine which moon you want to visit on that particular day.
Listed below are all of the available moons, along with their hazard ratings.
| Moon | Hazard Rating |
|---|---|
| Gordion / The Company Building | N/A |
| Vow | C |
| Experimentation | B |
| Assurance | D |
| Offense | B |
| March | B |
| Rend | A |
| Dine | S |
| Titan | S+ |
D represents the lowest danger level, while S+ represents the highest and deadliest.
Store
The Store command gives you a list of items you can purchase in Lethal Company. This should be pretty self-explanatory, but you can spend Credits here to purchase items and weapons that will help you survive during your exploration.
Here’s a list of all the items you can buy and how much they cost:
| Item | Price |
|---|---|
| Walkie-Talkie | 12 Credits |
| Flashlight | 15 Credits |
| Shovel | 30 Credits |
| Lockpicker | 20 Credits |
| Pro-Flashlight | 25 Credits |
| Stun Grenade | 40 Credits |
| Boombox | 60 Credits |
| TZP-Inhalant | 120 Credits |
| Zap Gun | 400 Credits |
| Jetpack | 700 Credits |
| Extension Ladder | 60 Credits |
| Radar Booster | 50 Credits |
| Loud Horn | 150 Credits |
| Teleporter | 375 Credits |
| Inverse Teleporter | 425 Credits |
| Romantic Table | 120 Credits |
| Record Player | 120 Credits |
| Shower | 180 Credits |
| Toilet | 150 Credits |
| Cozy Lights | 140 Credits |
| Television | 130 Credits |
| Jack o’ Lantern | 50 Credits |
| Green Suit | 60 Credits |
| Hazard Suit | 90 Credits |
| Pajama Suit | 900 Credits |
Credits, which are the main currency in Lethal Company, can be hard to come by at the beginning. You’ll want to sell your scrap and items you don’t need anymore, then purchase the tools that will actually help you. The Walkie-Talkie, for instance, should be one of your first purchases as that will allow you to actually communicate with your teammates.
Bestiary
Another self-explanatory command, the Bestiary, is a log of all the monsters you’ve encountered in the game so far. Bestiary entries carry over between runs and are one of the few things you don’t lose when you die.
Storage
The Storage command allows you to move items and furniture around your base in Lethal Company. When you access this command, you can then press B to move your furniture around and rotate it.
View Monitor
The View Monitor command lets you observe your surroundings on the current moon you’re on, which sounds helpful on paper but feels rather clumsy in practice.
Switch
To be used in conjunction with the View Monitor command, you can use this command by typing in “SWITCH (Player’s username)” to get the camera to switch to that player’s perspective.
Ping
The Ping command is really only useful if you’ve got a Radar Booster. Pinging a teammate will show them the Radar Booster’s location, and it can serve as a visual aid to guide them through their surroundings or show them where the exit is.
Scan
The Scan command is one of the most useful Terminal commands in Lethal Company. This command shows you how many items are outside the ship, along with how many Credits they can be sold for.
Unlocking Secured Doors
Finally, the Unlocking Secured Doors command simply lets you open and close secured doors. Secured doors are usually marked with a letter and a number, so you can simply type in the corresponding letters and numbers to open and close them. Don’t confuse these with locked doors, which can only be opened with keys.
Other Tips
You can navigate to any menu and input every command, no matter what’s currently shown on the terminal. For example, after the store is shown by inputting “Store,” you can type in “Vow” without having to close the terminal. The only exception to this rule is the Confirm prompt, which must be resolved before you continue browsing the terminal.
Secret Terminal Commands in Lethal Company
Finally, there aren’t actually any secret Terminal commands in Lethal Company, but you can get a couple of interesting prompts by typing in certain things. For instance, if you type the first three letters of a lore or creature entry that you haven’t discovered yet, the Terminal will give you a corrupted error message.
That’s all you need to know about all basic and secret Terminal commands in Lethal Company. Be sure to search for Twinfinite for more tips and information on the game.
Related: Best Weapons in Lethal Company on PC Invasion